A brochure is a great way to showcase your products or services to potential customers. Something tangible sticks much better than one of the thousands of online messages your customer sees in a day. A brochure like that sits somewhere on the table and every time the customer walks past it, he is reminded of your company.
Of course, you want such a brochure to exude quality. After all, it is an extended business card of what you do or offer. That is why it is important that not only the design process, but also the printing process is carried out carefully. What is the best way to do this? We give you 6 tips!
1. Decide what you want to show
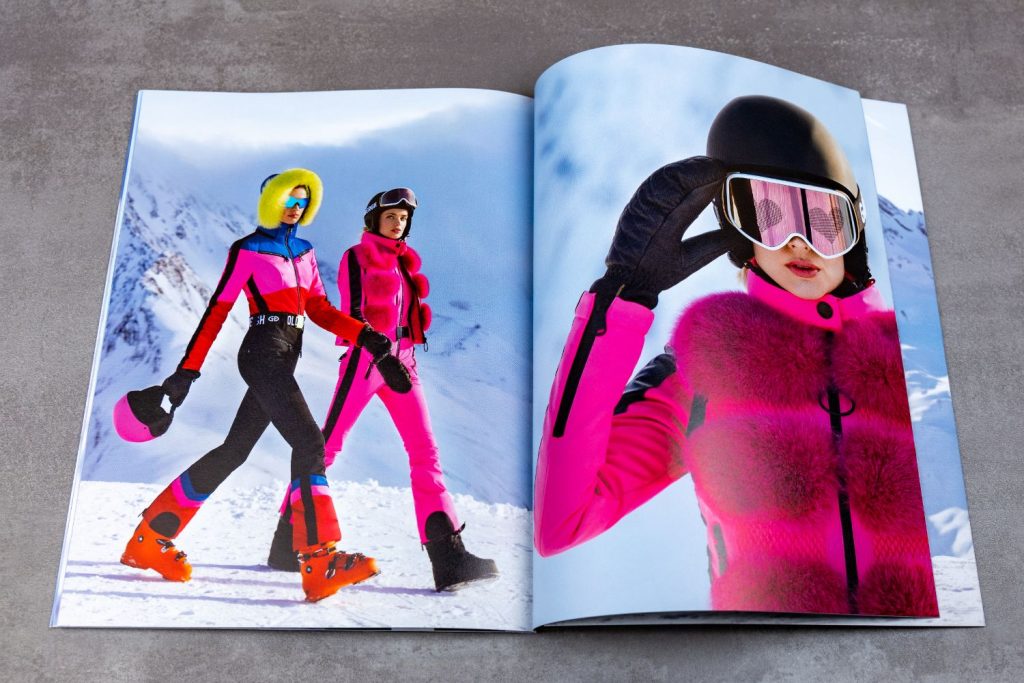
First of all, it's a good idea to consider what kind of brochure you want. Is it mainly about the text, or do you want your products to shine in beautiful images? In the latter case, the colour dynamics are very important. With the right preparation, your products will pop off the paper! Would you like to focus on the text and images? That is possible too, of course.

2. Choose the right paper type for your brochure
We already mentioned it above; it is important that your brochure radiates a certain quality. The right type of paper has a big influence on this. Glossy coated paper gives a completely different look and feel than uncoated versions.
Did you choose to focus on text at point one? Then it is obviously important that it is easy to read. For colourful images, it is important to go for a paper type that does not bleed the ink, so that the colours are optimally retained.
In addition, the feel of the paper is important to determine. There are smoother and rougher types of paper in different shades. Each type has its own points of interest. We will be happy to advise you on this.
3. Choose the right direction for the paper
Have you decided on the type of paper? Then it is important to look at the direction of the paper. The pages of your brochure should lie flat and be pleasant to leaf through. You don't want any bumps and creases, of course!
The running direction has to do with how the fibres lie in the paper. We distinguish between Bleed (BL) and Long Run (LL). Many paper types are produced in both the Bleed and the LL versions, so that you can always make an efficient print sheet layout.
However, there are also paper types that are only produced in Wide Run or Long Run. This can mean that with certain types you will end up with an inefficient print layout. This means that you can get fewer pages out of a press sheet than with an ideal running direction. It is important to consider this, because it can affect the cost of your brochure. When larger quantities of paper are involved, you can order made-to-order paper that takes into account the optimal layout in combination with the direction of travel.
4. Choose the right format and number of pages
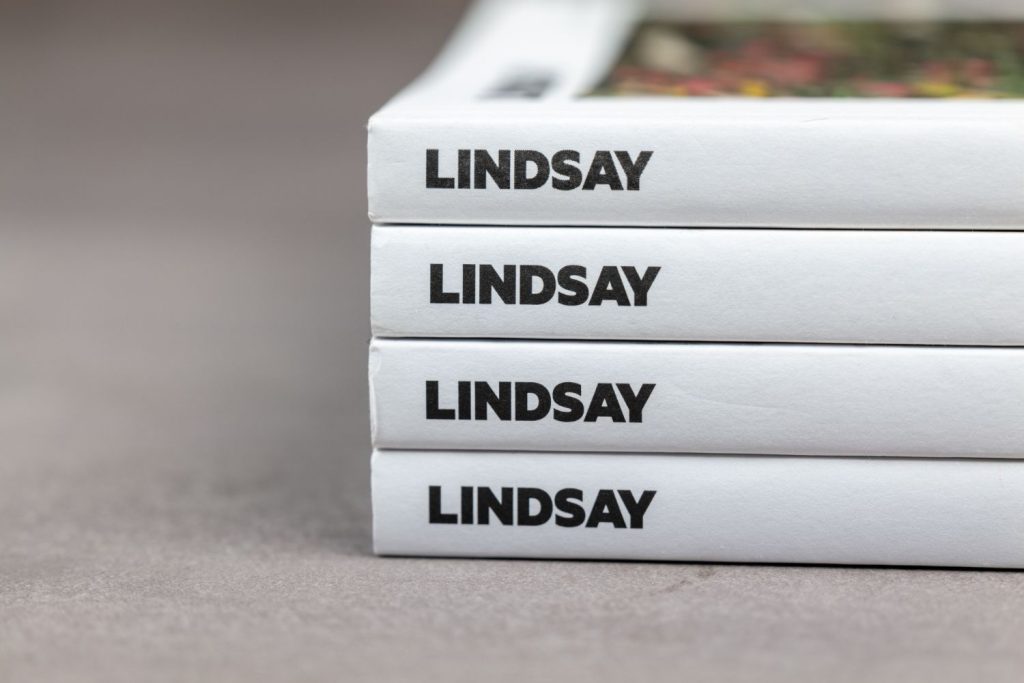
The number of pages you can produce per printed sheet depends, as you have read, on the chosen format. A stapled or webbed brochure can only be produced in multiples of 4 pages, with a minimum of 8 pages. The maximum depends on the thickness of the paper. A glued brochure needs a minimum spine thickness of 3 mm. The choice of format and the number of pages required have a great influence on the costs. Let us advise you on the most efficient print sheet format.

5. Determine the right lithography
A difficult word, but good to think about. The lithography. When you have chosen the paper type for your brochure, it is important that images are given the correct paper profile. This is how you get the best result.
There are paper grades that really soak up the ink (opaque uncoated paper grades) and paper grades where the ink stays nicely on the coating (MC paper grades).
We have a lithographer especially for this who is happy to think along with you. He will help you to achieve the best result based on the type of paper you have chosen. This mainly concerns the way in which your images are converted. Nowadays, good lithography on our LED UV press can produce very colourful and high-contrast printing results on all paper types. The conversion of images with the correct paper profile can be done at image level, with each image being assessed individually. It can also be done in a batch. This is faster and cheaper, but each image will then receive an average curve.
6. Make choices when it comes to the finish
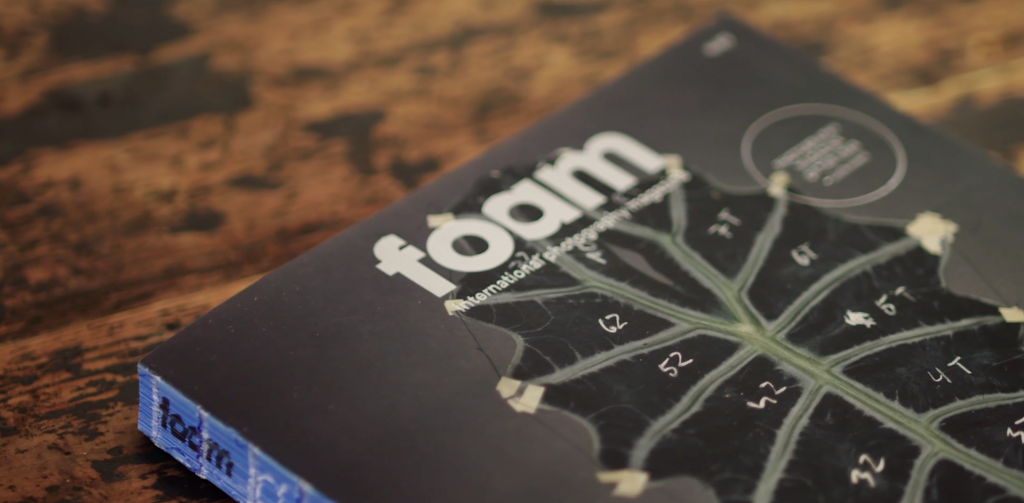
Finally, it is important to look at the finish. A good finish can definitely make a difference. A stapled brochure is stitched with 2 staples in the spine. By the way, did you know that in addition to standard staples you also have coloured staples! You can also choose brochures with eye staples. These form loops in the spine. This allows you to store different editions in a ring binder. Handy! Do you want to make a brochure or magazine with many pages? Then choose a glued or sewn brochure. Also in this category there are several alternatives, Otabind (Patabind or Lay-Flat is also called) is very flat which is an advantage with continuous photos.
A brochure can be made as a self-cover. The cover then has the same paper and grammage as the inside. Your brochure can also be given a sturdier cover with a finishing touch, such as matt or gloss laminate, spot UV or Braille varnish, embossing or foil stamping.
In short, a lot of things to think about. Maybe complicated for you, but not for us! We are ready to help you develop your idea and explain everything to you. This way, there will be no disappointments and we avoid doing double work.
Feel free to contact us for the possibilities!

